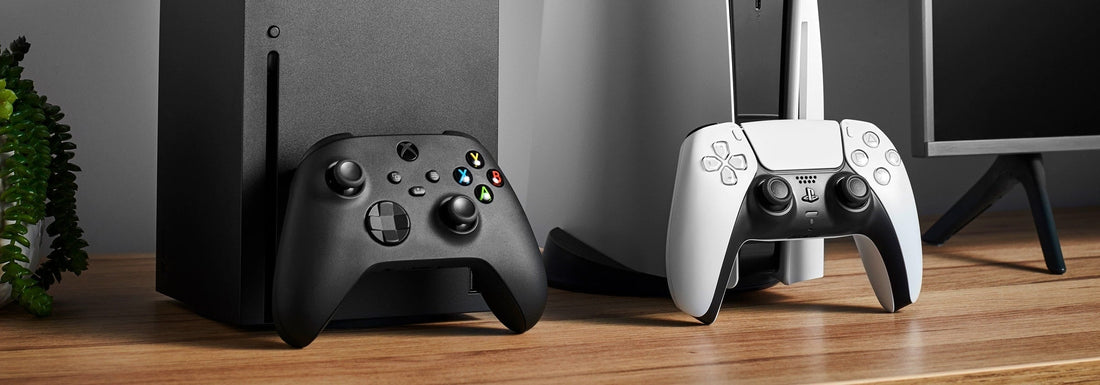
Over time, gaming consoles like PS5 and Xbox accumulate dust and debris, which can lead to overheating and performance issues. Disassembling your gaming console for cleaning is a simple yet crucial maintenance task that can extend its lifespan and improve performance. In this guide, we’ll walk you through the process of safely disassembling and cleaning your console, ensuring that it continues to run smoothly.
1. Why Disassemble Your Gaming Console?
Prevent Overheating
Dust buildup inside your console can obstruct airflow and clog cooling components, leading to overheating. This can cause slowdowns, crashes, and even long-term damage to the hardware. Regular cleaning prevents this from happening.
Avoid Hardware Damage
Disassembling your console for cleaning allows you to maintain its delicate components and ensure everything is functioning correctly. Using the right tools ensures you won’t damage screws or internal parts during the process.
Extend Console Lifespan
Proper maintenance helps keep your console in good condition, improving its lifespan and keeping it running efficiently for longer.
2. Tools You’ll Need for the Job
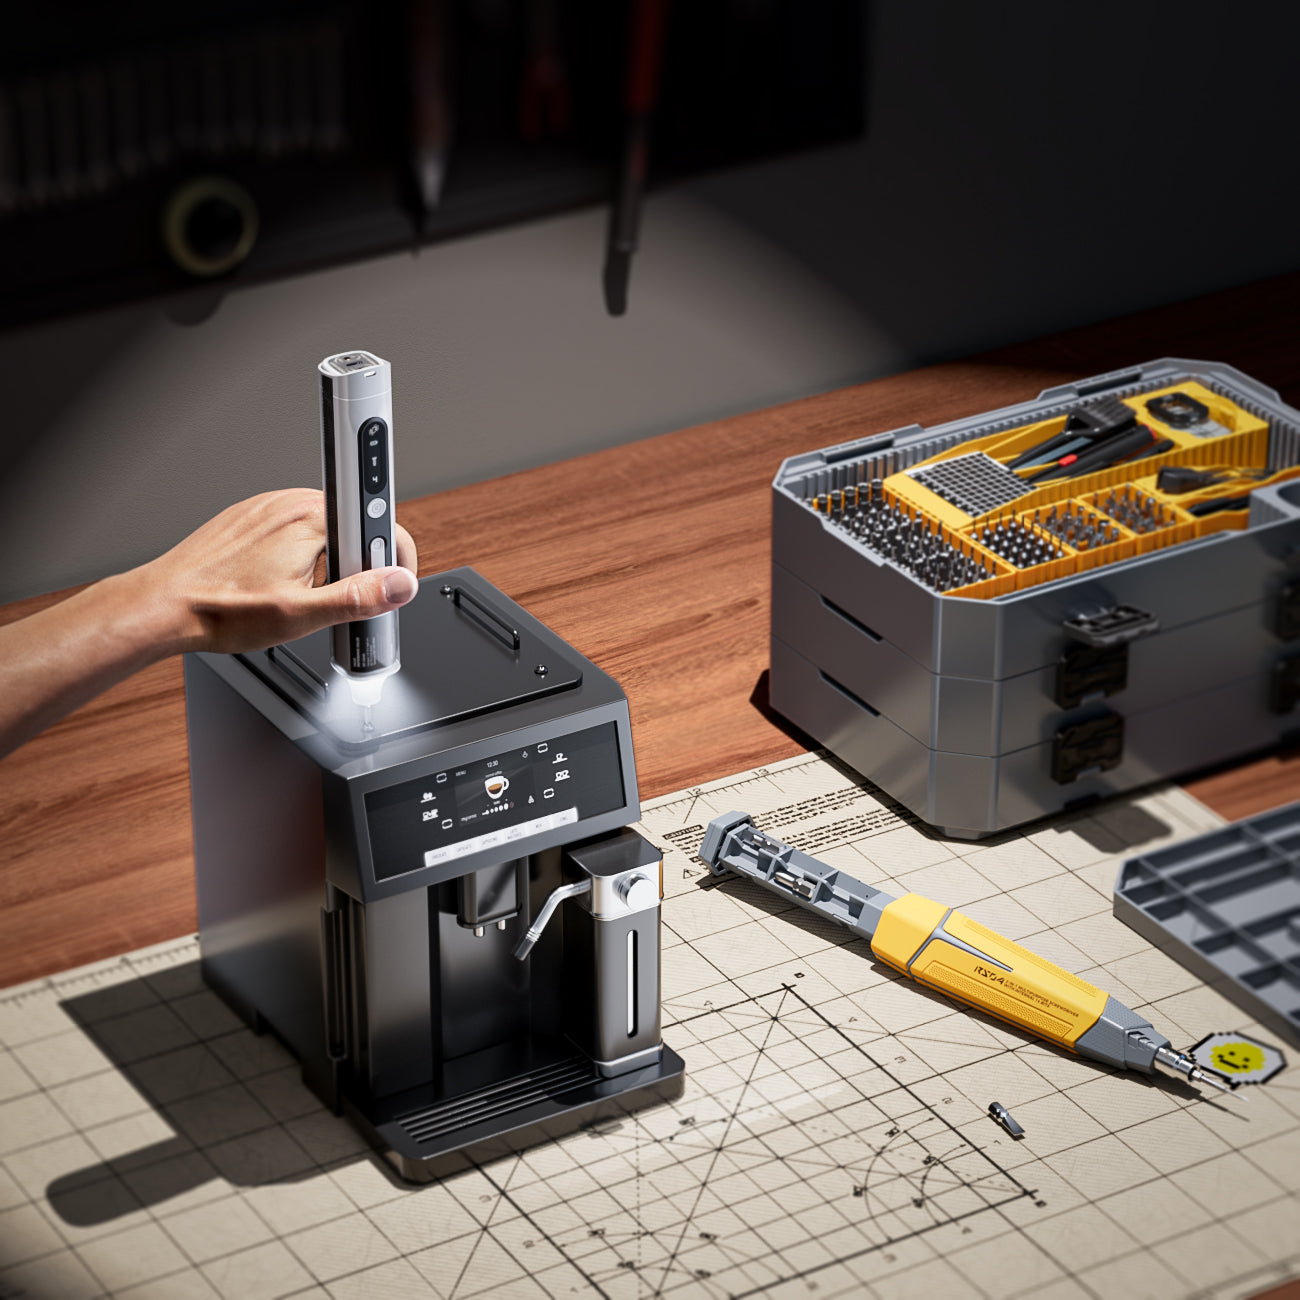
When disassembling your gaming console, it's crucial to use high-quality screwdriver sets that can handle both small and larger screws without causing damage. The Jakemy RS05 Screwdriver Set and RS03 Screwdriver Set are excellent choices for this task. The RS05, with its high-torque handle, is perfect for removing the outer casing screws of your gaming console, while the RS03, also equipped with adjustable torque and a more precise handle, is ideal for dealing with the smaller, more delicate screws inside. These tools provide everything you need for a clean and safe disassembly process.
3. Step-by-Step Guide to Disassemble Your Gaming Console
Step 1: Power Down and Disconnect
Make sure your console is powered off and unplugged. Disconnect all cables and accessories before starting the disassembly process.
Step 2: Choose the Right Tools
Select the appropriate screwdriver for the screws in your console. You may encounter a mix of small precision screws and larger ones. Choose a tool that provides the right torque and control to handle each type.
Step 3: Remove the Outer Casing
Start by carefully removing the outer casing. Keep track of screws and use a magnetic tray or container to organize them. This step exposes the internal components that may need cleaning.
Step 4: Clean the Interior
Once you’ve accessed the interior, use compressed air to blow out any dust from the cooling fans, vents, and heat sinks. Be gentle to avoid damaging sensitive components. You can also use an anti-static brush to clean smaller areas, like connectors and ports.
Step 5: Reassemble Your Console
After cleaning, carefully reassemble your console. Be sure to replace each screw in its correct position and tighten them properly without over-torquing.
4. Conclusion
Disassembling your gaming console for cleaning doesn’t need to be complicated. With the right tools and careful attention, you can maintain your console’s performance and extend its lifespan. Regular cleaning helps prevent overheating, reduces the risk of hardware damage, and ensures you can continue enjoying your favorite games without interruptions.
If you're ready to get started, gather your tools and take the first step toward a cleaner, more efficient gaming console.


