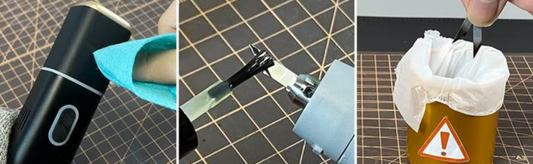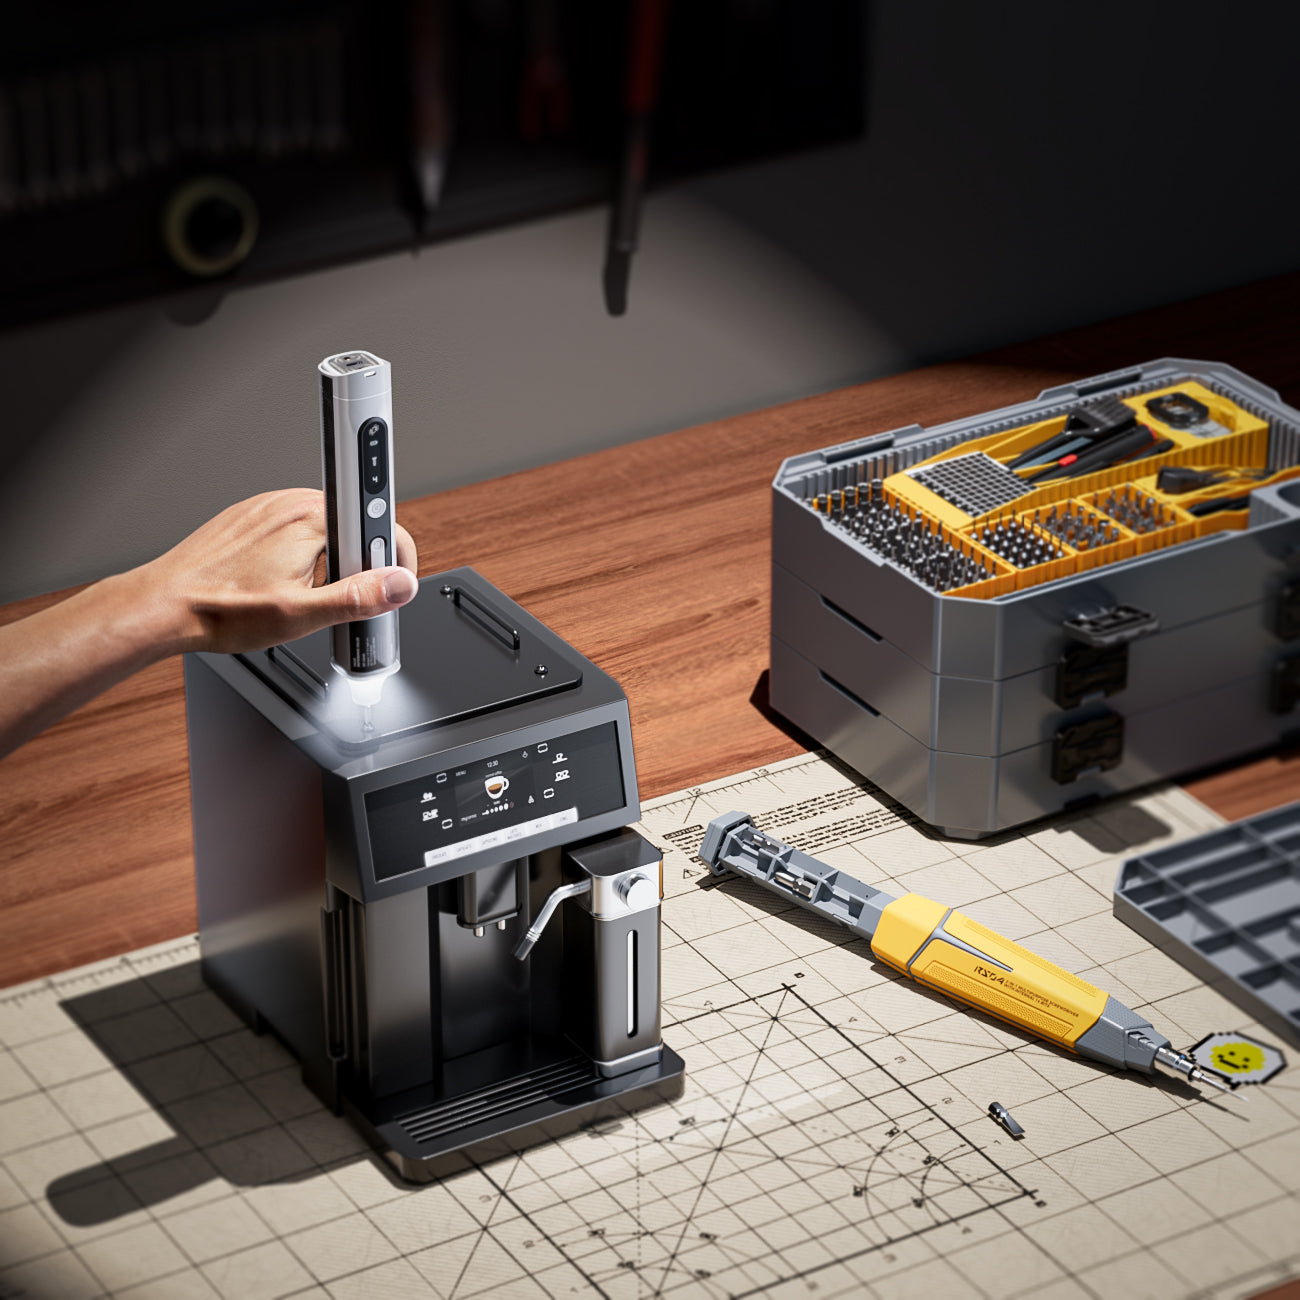

What Is The UC01?
There are 4 operating modes for the handle settings:

Mode #1: Auto Mode
- The ultrasonic cutter will switch to automatic cutting mode when the Mode Button is pushed to the Auto Mode position.
- In this state, it will run directly, thus enabling uninterrupted cutting operation without having to keep the Inching Switch pressed. In this mode, it has a strong output and is suitable for cutting harder materials.
Mode #2: Off Mode
- When the Mode Button is pushed to the Off Mode position, the ultrasonic cutter will stop running.
- In this state, pressing the Inching Switch will not produce ultrasonic vibration output. This safety feature prevents accidental activation of the cutter, reducing the risk of injury caused by unintended operation.
Mode #3: Low Mode
- When the Mode Button is pushed to the Low Mode position, the ultrasonic cutter will switch to manual cutting mode.
- In this state, you need to keep pressing the Inching Switch to get the ultrasonic output. It will have a weaker output in this mode and is suitable for cutting softer materials.
Mode #4: High Mode
- When the Mode Button is pushed to the High Mode position, the ultrasonic cutter will switch to manual cutting mode.
- In this state, you need to keep pressing the Inching Switch to get the ultrasonic output. In this mode, its output will be strong and suitable for cutting harder materials.
There are different light modes for the handle settings:

- The front work light stays on when the cutter is in cutting mode and turns off for 2 seconds when not in cutting mode.
- In Auto Mode, a blue light circle appears around the Inching Switch button.
- In Off Mode, no light is displayed around the Inching Switch button.
- In both Low Mode and High Mode, a green light circle is displayed around the Inching Switch button.
- When the on-screen temperature parameter shows that the Usable Hours bar on the cutter is nearly depleted, a cyan light circle flashes around the Inching Switch button. This indicates that the power should be turned off, and the handle needs a few minutes to cool before it can be used again.
Parameter Information that is displayed on the screen:

- When the cutter is powered on, the screen displays Mode (A,0,1,2) Information.
- When in Auto Mode (A), No need to press the Inching Switch, the screen will automatically jump to the cutter's usable hours display bar after 2 seconds, which will show the remaining available hours as you continue to cut with the cutter.
- When in Off Mode (0), the screen does not change when you press the Inching Switch.
- When the Mode are in Low Mode (1) and High Mode (2), pressing the Inching Switch will cause the screen to jump directly to the cutter's usable hours display bar, which will show the remaining available hours as you continue to work cuts with the cutter.
Introduction to temperature control and product standby:

- A high sensitivity Temperature Sensor and a current stabilizing MOS are installed inside the cutter to detect and control the heat generated by the sensor and booster circuits inside the cutter. When the internal temperature exceeds 75°C, the cutter protectively shuts down and cools down for approximately 1 to 3 minutes before it can be used again.
- When the Mode Button is in Auto Mode, the cutter automatically starts the cutting program. Although there is no load, heat is slowly generated inside the cutter. When you are not using the cutter for cutting, push the Mode Button to Off Mode to extend the cutter's usable time and protect the life of the cutter's transducer.
- When the Mode Button is in Off Mode, the cutter won't respond even if you press the Inching Switch. If you don't do anything with the cutter within 10 minutes, it will turn off automatically.
- When the Mode Button is in Low Mode and High Mode, the cutter will only start the cutting program if the Inching Switch is pressed. If the Inching Switch is not pressed, it will be in standby mode, at which time it will not generate any heat.
- We have designed two Square Cooling Holes on each side of the machine's Mode Button. Normally, the cooling holes will not cause burns, but be careful not to get especially close to the soft parts of the body, such as the eyes.
The UC01 cutter supports two types of power supply:
The UC01 cutter is a 30W ultrasonic power unit with a rated input voltage and current of 15V and 2A. If the input voltage and current are below this value, the ultrasonic power of the cutter may decrease, resulting in reduced cutting ability or even inability to cut.
1.1 Can use Mobile Power Supply with rated voltage and current 15V=2A

1.2 Can use AC Charging Plug with rated voltage and current 15V=2A

1.3 What Conditions Can Cause the rated input voltage and current to drop?
- Your power supply doesn't support the Type-C interface.
- Your power supply can't deliver 15V2A power.
- Your power supply can't deliver stable 15V2A power.
- Your current power supply is a misleading 15V2A power.
1.4 What Problems Occur when the rated input voltage and current are not met?

- Reduced Cutting Ability
- Significant Reduction in Cutting Ability
- Abnormal Ultrasonic Generation Status
- Displayed Cutting Ability But Unable To Cut
- These Conditions Can Result in Reduced Transducer Life
1.5 To Address These Issues, we recommend the purchase of our fast charger.
- This AC charger is a 35W GaN Fast Charging Plug and is fully compliant with the power compliance policy for this different power system.
- If your 35w charging plug can't actually support a true 15V=2A power output, it will result in the UC01 cutter not being able to utilize it's ture cutting capabilities.
- The different power systems in different regions, we have equipped 5 types of AC charging plugs, American, British, European, Australian and Japanese, for all backers to add-on.
- There are 2 reward tier add-on options for the same 35W GaN Fast Charging Plug in our add-ons, they are the same charger, just different prices.
- In the end, we can only solve these problems by splitting the content of the reward tier and using the optimal strategy of low price limit.